
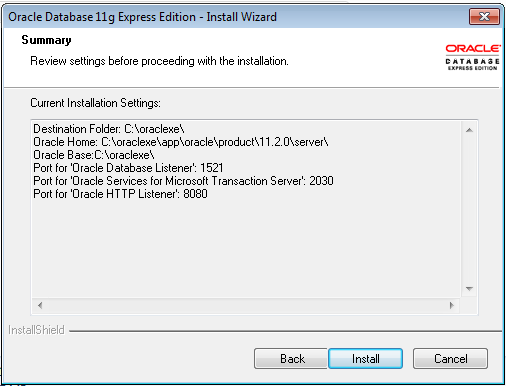
1. Configure the Oracle Database
Install Oracle Express 11g and execute a sample of the SQL file.
2. Start WebLogic Server
C:\u01\domains\ExampleDomain\wl_server\startWebLogic.cmd
http://localhost:7001/console
3. Configure a JDBC Data Source
In the Change Center, click Lock & Edit.

In the left panel, under Domain Structure, expand Services and select Data Sources.
On the Summary of JDBC Data Sources page, click New and select Generic Data Source.

Name of the data source = myNewDS.
JNDI Name of the data source = myNewDS.
(There is no requirement for the data source and JNDI names to be the same.)
Database Type = Oracle.
Click Next.

Database Driver = *Oracle's Driver (Thin) for Instance connections; Versions:Any.
Click Next.

Accept default values for transaction.
Click Next.


If the message Connection test succeeded displays, click Next.
Click Next.
On the Test Database Connection page, review the connection parameters and click Test Configuration.
If the message Connection test succeeded displays, click Next.
On the Select Targets page, select AdminServer as the data source target.

Click Finish to save the JDBC data source configuration and deploy the data source to the AdminServer (target).
In the Change Center, click Activate Changes.

The Console displays the message: All changes have been activated. No restarts are necessary.
In the Summary of JDBC Data Sources page, the new data source, myNewDS, is now listed in the Sources table.

To modify the configuration of the new data source, select the data source name, myNewDS.
On the Settings for myNewDS page, select Configuration and then select Connection Pool, and scroll down to find the capacity fields and change the existing values to:
Initial Capacity =2
Maximum Capacity=20
Minimum Capacity=2

Click Save.
In the Domain Structure tree, expand Environment and select Servers.
In the Servers table, select AdminServer(admin).
To validate the configuration and target of the data source, view myNewDS in the JNDI Tree.

The JNDI tree opens in a new window and myNewDS appears in the JNDI tree.

4. Deploy Test App
Lock & Edit configuration.
Select Deployment.
Click Install.

Locate the war file.

Select install deployment as an application.


Set deployment name.


Save settings.

Click Activate.
Check that the application appear in deployment list.


Browse the url http://localhost:7001/testds.
Enter ...
Data Source Name=myNewDS
Table Name=EMPLOYEE
Username=weblogic
Password=qwe123!@#
Click Test Data Source

The application successfully retrieve the data from the data source.

.
5. Run Script To Deploy Test App
Install GitBash for windows in order to execute Bash command.
Note:
WSLT script has been moved into new location i.e. C:\u01\app\fmw\oracle_common\common\bin
No comments:
Post a Comment