.
.
OpenStack is a cloud computing infrastructure (IaaS) that helps in controlling large pools of computation power, storage, and networking resources throughout a datacenter. It does so with help of APIs.
Devstack is a series of extensible scripts, which is used to set up an OpenStack environment with ease.
50
Top 20 Celeb Nepotism Babies Who Deserve the Fame
Pre-requisites for using OpenStack
There are a few basic pre-requisites you need to fulfill, before setting up OpenStack on your system.
Ubuntu OS
A minimum of 4 GB RAM
Multi-core enabled processor
At least 10GB of free hard disk space
A good internet connection
There are some additional software requirements also, which you need to fulfill.
Git
A web browser
Steps to Install Openstack on Ubuntu with Devstack
Installing OpenStack on Ubuntu is a rather complex process. But it is made easy by Devstack. The steps to install it, are quite easy even if you’re not much proficient with the command line, simply follow the steps and get it up and running.
Step 1: Preparing the system
Update the system:
The command will ask for root privileges. Enter your user password and wait for your system to upgrade. After the upgrade is done, reboot.
Step 2: Creating stack user with Sudo privileges
Create a new user named stack for our system to setup OpenStack, as it should be installed on a non-root user with sudo enabled.
Open a fresh terminal, and run the useradd command:
Enable stack user to have root privileges and run without a password:
The Output will look like this:

Adding User – “stack”
Once you have created the stack user, log in to it using the following command:
It will log in you to bash, as stack user.
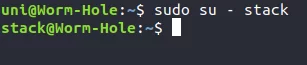
Logging-in as User “stack”
Step 3: Downloading Devstack
Assuming git is installed on your system. Enter the following command to download/clone devstack from its repository to your system:
Devstack repo contains a script stack.sh , which will be used to setup OpenStack. It also contains templates for configuration files.
Step 4: Creating configuration (.conf) file for Devstack
Setup the configuration files for it.
Navigate to the devstack folder, by running:
Afterwards, create a local.conf file, by running:
and paste the following content –
Paste using the mouse by right-clicking and clicking Paste and enter :x to save & exit.
Note:
1. StrongAdminSecret is the password we used here, you can change it with your choice.
2. A sample configuration file for local.conf can be found in the Samples directory under the Devstack repository.
Step 5: Installing Openstack with Devstack
Run OpenStack installation using the following command:
The script will install the following features –
Horizon – OpenStack Dashboard
Keystone – Identity Service
Nova – Compute Service
Glance – Image Service
Neutron – Network Service
Placement – Placement API
Cinder – Block Storage Service
The setup will take around 10 to 20 minutes, based on your system performance and internet speed, as many git trees and packages are installed during the process.
Upon completion, your terminal will look like the image below.

Devstack Installed
Now, we can see that it is saying that Horizon (Openstack Dashboard) is available at the given URL, it will vary from system to system.
Step 6: Accessing OpenStack using a web browser
Browse this URL –
Or try
It will open up the OpenStack login page, as shown below.
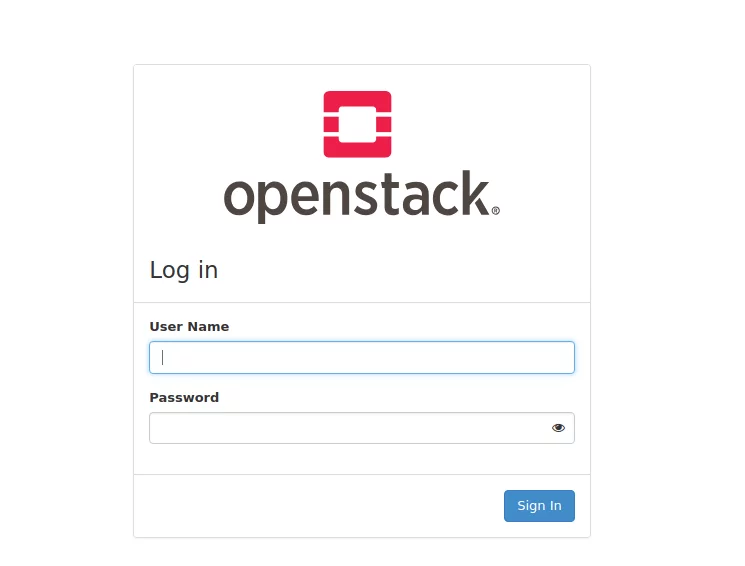
Openstack Login
Now, enter the credentials ie Admin/StrongAdminSecret
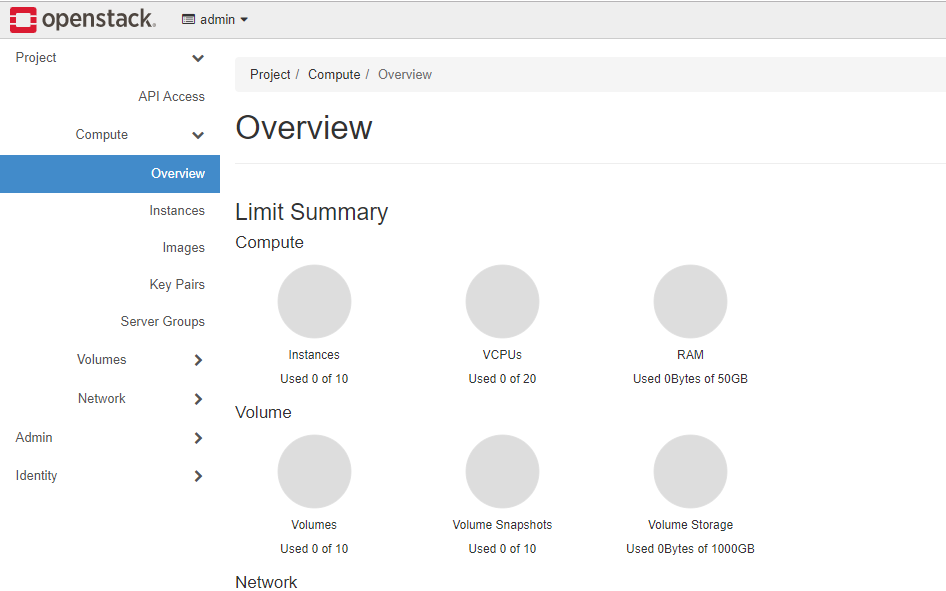
After logging in, your dashboard will look similar to this.
OpenStack Dashboard
Further Reading:
.
.
No comments:
Post a Comment